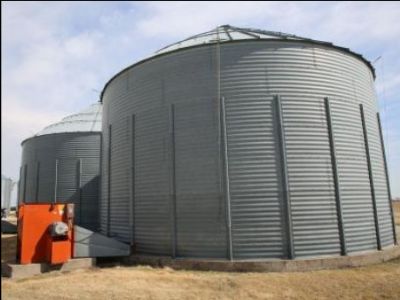
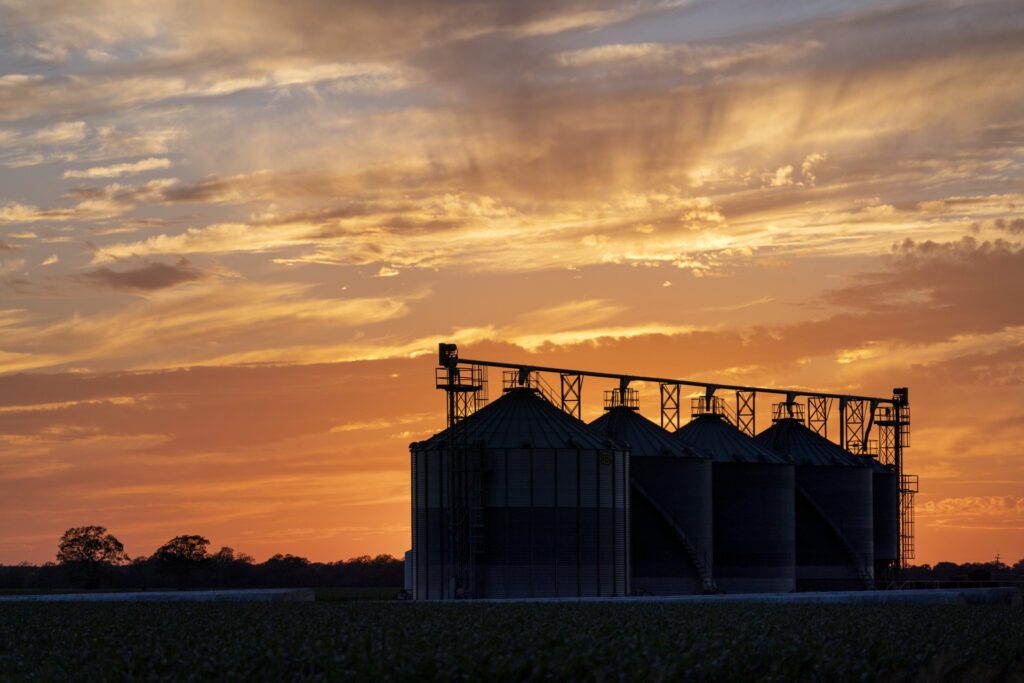
Why aerate grain?
Aeration is used to cool grain in the fall and keep temperatures across the grain mass even throughout its storage life. Cool temperatures keep insect and mold activity low and increase the maximum allowable storage life of grain.
Aeration is important throughout storage to reduce the temperature of the grain near bin walls and under the roof, where the metal sheeting collects solar heat that warms the grain. Also, grain often comes out of the field in the fall too warm to safely store through the winter, as well as out of a high-temperature dryer. If grain isn’t cooled for winter storage, the cold winter air will cool the grain along the bin walls while the center core stays roughly the same temperature as it went in. This temperature difference can lead to moisture migration, or currents of air that deposit moisture at the top center of the grain mass, increasing the risk of mold growth and crusting. If you see a crust starting, act quickly and be sure to remove or break the crusted grain before unloading any grain, since removing grain under a crust could create a dangerous grain bridge that can collapse.
When to aerate?
The goals of aeration are to gradually cool the grain down in the fall, to maintain cool and even temperatures through the winter, and to keep the grain cool for as long as possible in the spring.
In the fall, a good rule of thumb is to cool grain any time the average air temperature is around 10 to 20 degrees Fahrenheit cooler than the grain temperature. This cooling cycle should be repeated until the grain temperature is cool enough for winter storage. In Iowa, a good target storage temperature for grain is between 35 to 40 degrees F.
When aerating grain, keep an eye on the daily average temperature (average between the nighttime low and daytime high) and the dew point (condensation) temperature. The temperature that grain can be cooled to will be somewhere between the daily average and the dewpoint.
Air humidity makes little difference when cooling grain since the cooling front moves significantly faster than a wetting front but cooling dry grain that has a low spoilage risk can be delayed during periods of rain. If grain is being held very warm or wet, keep the fan running through periods of high humidity.
How to aerate?
A cooling front makes its way up through the grain as aeration fans push air up through a bin, meaning that the grain at the top of the bin is the last to cool and will stay relatively steady until it is cooled. See this past ICM article on cooling grain for more information on the cooling front. Don’t turn off the fans until you are able to measure a temperature drop in the top 6 to 12 inches of grain.
The hours required for cooling the whole bin can be estimated as 15 divided by the cubic feet per minute of airflow per bushel of grain in the bin. If you don’t know how much airflow per bushel your fan provides, you can estimate it using a handy calculator at https://bbefans.cfans.umn.edu/. Bins with a small aeration fan (0.10 to 0.15 cubic feet per minute of airflow per bushel) would take about four to six days to cool the grain, while larger drying fans (1 cubic feet per minute of airflow per bushel) can take less than a day.
Aeration can only change the grain temperature within the limitations of the outdoor air conditions when the fans are running. A useful tool to estimate the cooling and drying potential of the air based on local ambient air conditions is the Grain Aeration and Storage app, which can predict the moisture content and temperature of the grain after aeration and can estimate hours of aeration needed.
What about natural air drying?
The grain aeration and storage app is also useful for helping to predict the equilibrium moisture content when running larger fans for in-bin natural air drying. Again, pay attention to the dewpoint temperature to get a quick estimate of the drying potential of the air: a large difference between the air temperature and the dew point temperature means that conditions are good for drying.
For natural air drying, the recommended airflow rate is between 1 to 1.5 cubic feet per minute of airflow per bushel. You can increase the drying rate by layer drying in the bin. Layer drying involves drying a 4 to 6 foot layer and adding an additional layer once the drying front has moved up through the last layer. A fan that is designed for 1 cubic feet per minute of airflow per bushel with a full bin can often put out more like 4 cubic feet per minute of airflow per bushel when the bin is only a quarter full, thus greatly increasing the drying rate.
When average temperatures fall below 40 degrees F, natural air drying becomes inefficient and it is time to focus on cooling the grain for storage.

Should you try rewetting your soybeans?
This year, there is more interest in reconditioning soybeans that were harvested too dry. Though this is possible and can significantly increase the weight of soybeans available to sell, there is significant risk of damaging grain bin walls. It is also difficult to get the wetter beans at the bottom mixed well with the drier beans at the top just by periodically unloading and reloading beans, not to mention the increased risk of breaking brittle over-dry beans when moving them more frequently. If producers have the drive and monitoring equipment (such as humidistat controllers for fans and possibly vertical stirring augers), they can check tips and resources on reconditioning dry soybeans from North Dakota State University Extension.
