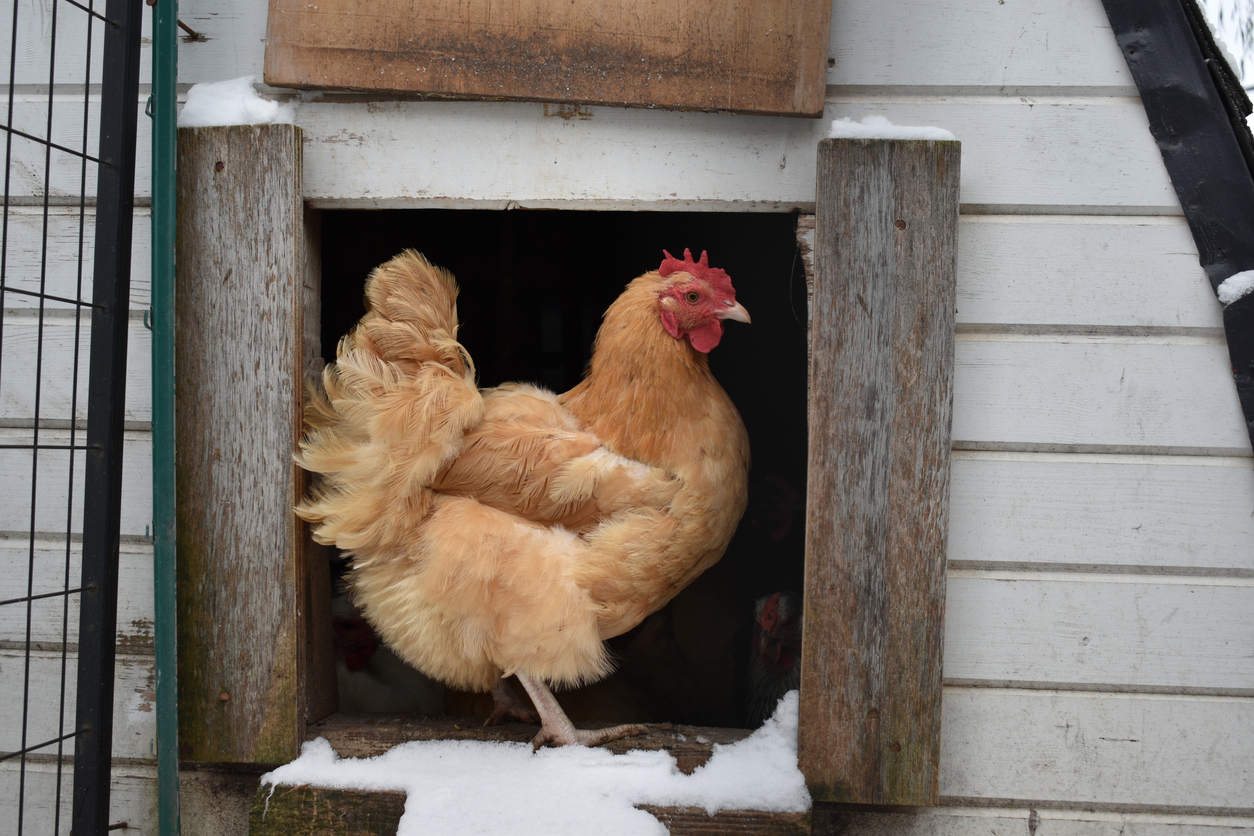
It’s no secret that chicken raising has evolved over the last hundred years. Where chickens were kept primarily for meat and eggs in the early and mid-1900s, they are now kept as pets for a lot of folks. (I’ll not deny that all of mine have names and I can’t imagine eating them. Ours are for the eggs and entertainment of owning chickens.)
Chickens were fed a diet of insects and table scraps with some grains thrown in. Now, there are several different types of chicken feed available ranging in protein content and for different types of birds – meat birds vs. egg layers.
Along with changes to feeding and caring, there have been some serious upgrades to chicken coops as well. No matter the time period, there’s still a need for winterizing your chicken coop.
While I had an epic fail last year with this, I’m more prepared this year. It’s not that I didn’t do it last year. It’s that I waited until the windchill was -11 to do it. My poor husband was freezing his hands off, as I was, to make sure my chickens were protected from the harsh winds. Western Kansas doesn’t see those temperatures often, but I sure wish we had winterized before it got quite that cold.
Chickens are mostly hardy creatures, but that doesn’t mean we can’t prepare them for a bad cold snap.
If you’re new(er) to chickens, it’s helpful to have a plan when winterizing your chicken coop.
- Do a deep clean of your coop – That means removing all the old bedding, scrubbing down roosting bars, cleaning out the nesting boxes, and making sure the waterers and feeders are clean. Make sure to treat for any pests as well.
- Seal up cracks and crevices where drafts can get in. Repair any fencing on your run. Predators are going to be looking for easy meals in the cold months. I do not insulate my coop, instead opting for the deep-litter method. I have seen that quite a few people use old feed bags to insulate any drafty areas, while others opt for full insulation.
- It is also a good idea to cover your run. Pinterest has a wealth of ideas from the inexpensive to the expensive. Do what your budget can afford. We are looking into clear plastic for the outside of our run, but I’ve seen others use clear plastic greenhouse panels.
- Replace your bedding. I use the deep-litter method in the winter with pine shavings. On nicer winter days, I can still go out and change out bedding as needed, but for those bitter, ugly days, I’ve found that this works extremely well. My coop is 7’x8’ on the floor and I’ll use a minimum of 4 packages of 12 cubic foot of bedding. I can attest to the fact that it is significantly warmer inside the coop.
- Ventilation is a must. While you don’t want extreme breezes blowing through, you do want to make sure that you leave spaces are the top of the run and coop to let any moisture out. This will help to keep mold from starting and keep your flock healthier.
- Waterers – I have a heated waterer for the winter that stays in the run. This prevents water from freezing and keeps your bird hydrated.
The only thing I do not provide is a heat lamp or external heat. With a well-insulated and properly ventilated coop, you don’t need to provide extra heat. There’s a lot of theories surrounding this, but my biggest concern is – if your chickens get used to that heat source and you have a power outage, it will cause havoc with your flock. (I may be a bit dramatic.) I do, however, have patio lights inside my coop set on a timer. They do not provide heat, only a little extra light since the days are much shorter.


