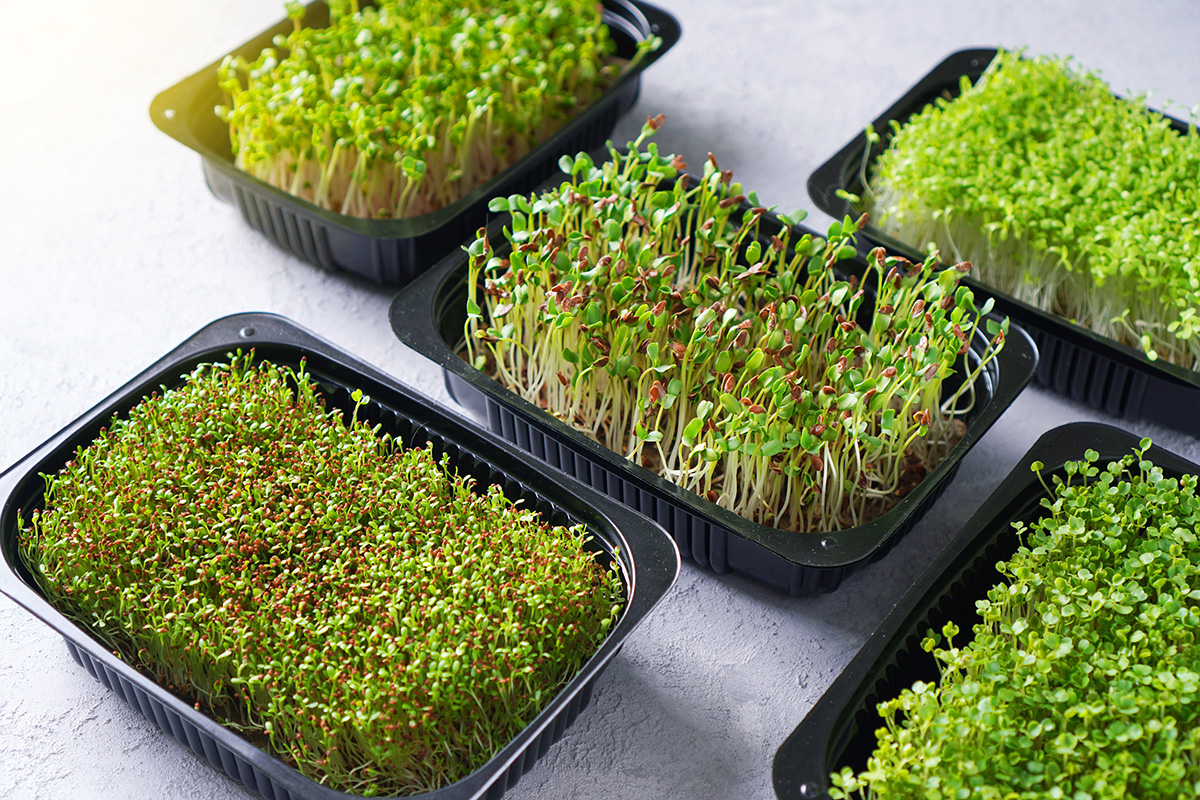
Mini greens, mega benefits: Growing microgreens at home

Looking to add a boost of nutrition to your diet this winter? Say hello to microgreens—tiny flavorful greens you’ve probably seen topping salads or sandwiches at fancy restaurants.
Microgreens are easy to grow, incredibly nutritious, and the perfect way to bring some life to your kitchen during the cold months.
What are microgreens?
Think of microgreens as baby plants. They’re grown from seeds of vegetables, herbs, or other plants and harvested just as their first tiny leaves appear. Popular options include arugula, broccoli, radish, and sunflower. Microgreens grow in soil or another medium and you don’t eat the seed coat or roots.
Don’t confuse them with sprouts, though. Sprouts are germinated seeds eaten whole, which comes with a higher risk of foodborne illness. All parts of the plant are eaten with sprouts. The E. coli that makes people sick is typically on the seed coat.
A safe water source and proper handwashing when harvesting and handling microgreens are really important.
Why microgreens are amazing
Microgreens might be tiny, but they pack a serious nutritional punch. They’re loaded with vitamins and minerals—like A, C, and K, plus calcium and iron—and have higher concentrations of these nutrients than their fully grown versions.
For example:
- Red cabbage microgreens have triple the folate of mature cabbage.
- Arugula microgreens have double the vitamin A of their grown-up counterparts.
- Radish microgreens are richer in calcium and omega-3s than regular radishes.
Not only are they healthy, but they’re also versatile and bursting with flavor. Add them to soups, salads, stir-fries, or even smoothies. You can garnish just about anything with microgreens to give it a colorful, fresh twist.
Why you should grow your own
Sure, you can buy microgreens at the store, but they can be pricey. Growing them at home is not only cheaper but also incredibly satisfying. Plus, it’s a fun winter project that lets you enjoy gardening without braving the cold.
How to get started
You don’t need a green thumb or a big space to grow microgreens. A sunny windowsill will do the trick. Here’s how to get started:
- Pick your seeds: Choose your favorites—arugula, radish, broccoli, or sunflower are all great options.
- Prepare your trays: Use shallow trays with drainage holes. Fill them with a growing medium like peat or coconut coir.
- Plant and water: Sprinkle seeds evenly over the surface and mist with water. Cover the trays to keep the moisture in while the seeds germinate.
- Sun and care: Once the seeds sprout, uncover the trays and place them in a sunny spot. Water lightly from the bottom to avoid wet leaves.
- Harvest: In about 7 to 14 days, your microgreens will be ready. Snip them just above the soil line, wash, and enjoy.
A winter pick-me-up
Growing microgreens isn’t just about the food—it’s also about the fun. There’s something rewarding about watching those little greens grow, especially in the dead of winter. Plus, gardening is known to reduce stress, so it’s a win-win for your body and mind.
So, why not give it a try? Microgreens are a tasty, healthy, and easy way to brighten up your home—and your plate—this winter.
PHOTO: Microgreen sprouts. (Adobe Stock │ #359396575 – Dmytro)


