Butchering a rooster: A first timer’s experience

For those who have butchered chickens before and know what you’re doing, this article is not for you. This is for the first timer’s, like me.
Saturday dawned a little cool, but sunny. I knew what needed to be done. I didn’t want to, and I had no idea how to. We had to butcher an aggressive rooster. Neither myself, nor my husband, had ever butchered a rooster or chicken before. I thought “Well it can’t be that hard, I’ve cleaned pheasants before, surely it’s the same thing.” No, no it is not. So, I did what any sane person does and turned to the internet for guidance. I found a YouTube video of someone butchering a rooster and watched it a few times, confident that I had the gist of it.
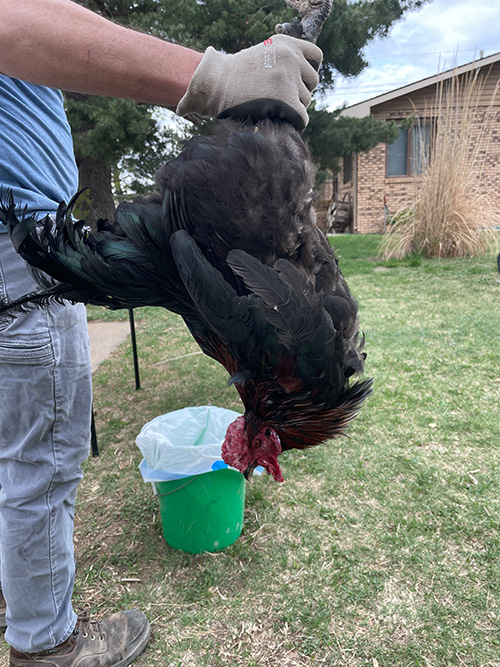
Late afternoon, the time had come. I couldn’t put it off any longer. I went to the farm store and purchased a couple of sharp hunting knives and a net. Neither of the farms stores I visited had had poultry kill cones, so we made do with what we had. Knives, a bucket, some trash bags, and a folding table. Our ten-year old caught the rooster with the net, since said rooster wasn’t friendly enough to just walk up to and grab. My husband wrangled the flapping bird out of the net and held him up by his feet and we sauntered over to our make-shift butcher table.
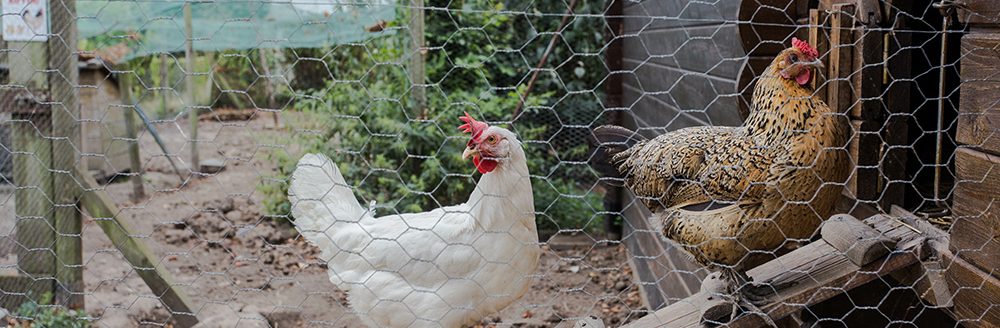
Let’s just start by saying, the chickens were my idea. I wanted them. I’ve raised them. I hatched this particular rooster last spring and named him. Poor Arnold. My husband dutifully held the rooster over the bucket and asked if I wanted to do the honors. Me being me, I picked up my newly purchased knife and held it for about 20 seconds. And then I chickened out, no pun intended. I couldn’t do it. I couldn’t butcher the rooster that I had raised and named. To be fair, he was so aggressive with my hens that half of them are missing feathers on their backs and wings, and since I can’t get them to keep chicken saddles on, the rooster had to go. I also have another rooster who was kept separate, so my flock will still be safe(r) when free ranging.
Anyway, I couldn’t. So, my husband and I traded spots, with me holding poor Arnold by the feet and the neck. With a couple of sure, quick strokes, my husband took care of the hard part. It was not pleasant, and I felt bad, but like I said, it was time.
I had my pot of hot water (150ish degrees) and once I was sure the rooster was completely gone, I started the process of dunking him in the pot to loosen the feathers. It only took a couple of minutes. The video I watched said that if the feathers are coming off the legs easily then the rest will be easy to pluck. So here we are in the backyard on a folding table covered in trash bags. I plopped the sopping wet deceased rooster on the table, and we got to work pulling off all his feathers. Then came the truly horrifying part (because culling him wasn’t traumatic enough): cutting him open and cleaning him out. I had to go back and watch the video again, because I still wasn’t completely sure what I was doing, and I was terrified of slicing a finger off. Ultimately, we made a few incisions, pulled out his insides, neck, liver, heart, and rinsed him off. The end result wasn’t super pretty, but we managed to butcher our first chicken.
This is not something that I take lightheartedly, nor is it something I wish to do again anytime soon. I will be looking forward to a fried chicken dinner in the future, though, as Arnold currently resides in our freezer, featherless and ready to be cooked.
If you’ve never culled and processed a chicken or rooster before, I highly recommend watching plenty of YouTube videos or learning from someone who has. I guess now we know how, in case we need to do it in the future.
Picnic Chicken
1998 Taste of Home Annual Recipes
- 4 boneless skinless chicken breast halves
- 1 cup of dry breadcrumbs
- ½ teaspoon dried parsley flakes
- ½ teaspoon garlic salt
- ¼ teaspoon pepper
- ¼ teaspoon paprika
- 1/8 teaspoon dried thyme
- 1 egg, lightly beaten
- 1 tablespoon cooking oil
- 1 tablespoon butter or margarine
- Pound chicken to ¼-in. thickness.
- In a shallow bowl, combine breadcrumbs and seasoning.
- Dip chicken in egg, then in the crumb mixture.
- In a skillet, brown the chicken in oil and butter over medium heat for 3-5 minutes on each side or until juices run clear.
Yield: 4 servings.
*Cooked chicken should reach an internal temperature of 165 degrees.
PHOTO: Close-up of a black rooster with a red comb and shiny feathers. (iStock │ #2204508119 – Sviatlana Lazarenka)
Related Articles